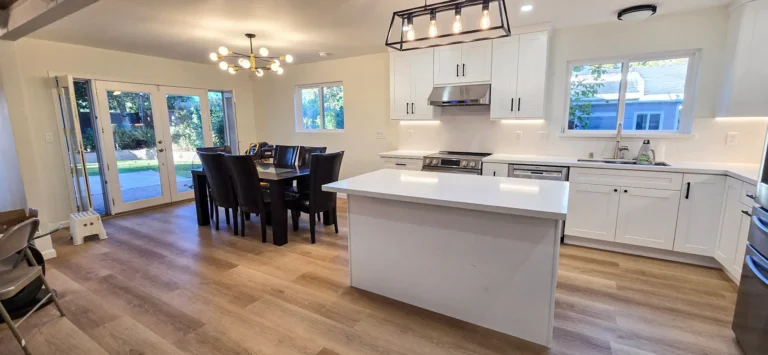

Remodel After Buying a House: 7 Steps for Bay Area Buyers
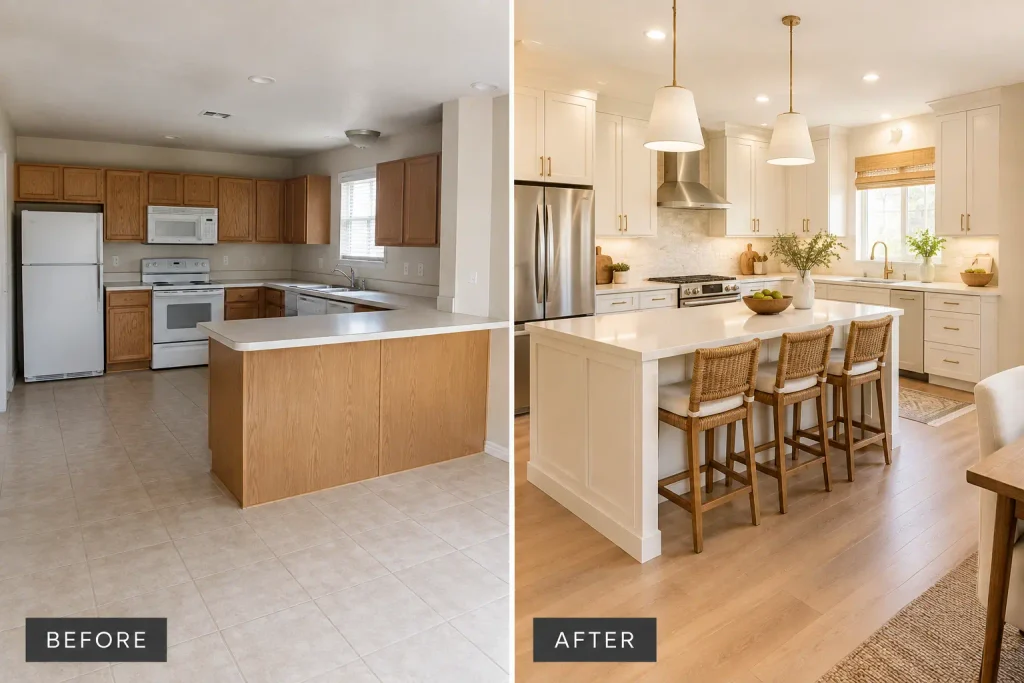
Getting the keys to a new home is exciting, and the urge to start changing everything right away is real. But the best time to remodel after buying a house is usually before you move in, when the rooms are empty, the work goes faster, and nobody has to live around construction. Plan it in the right order, and you will spend less, avoid rework, and end up with a home that truly feels like yours.
Here is the process we walk East Bay homeowners through, from closing day to the day the last tradesperson leaves.
Why the Best Time to Remodel After Buying a House Is Before You Move In
Most new owners walk through their home with a mental list of everything they dislike: the dated kitchen, the small bathroom, the carpet, the paint. The good news is that the stretch between closing and move-in is the easiest time to fix it.
An empty house means crews can work faster, walls and floors can be opened freely, and you skip months of dust, noise, and a kitchen you cannot use. The catch is that you are making big decisions before you have lived in the space, so the steps below focus on getting those decisions right in advance.
Step 1: Walk the House With Your Daily Routine in Mind
Before you draw up plans, walk through the empty house, ideally with your contractor, and picture daily life in each room. Where will you drop your bags? Which rooms get dark in the evening? Where will you want more outlets, storage, or counter space? If you can, visit in the morning and again in the evening to see how the light changes.
Thinking through your own routines is the foundation of a good design. They also help you tell the difference between something that annoys you and something that is genuinely worth paying to fix.
Step 2: Get the Bones Checked
Your purchase inspection gave you a snapshot, but before you plan a remodel it helps to look deeper at the parts of the house you cannot see. Older Bay Area homes in particular can hide surprises behind the walls.
Ask a contractor or specialist to look at:
- Electrical panel capacity and old wiring
- Plumbing materials, especially aging galvanized or cast iron lines
- Foundation, drainage, and signs of past water damage
- Attic insulation and ventilation
- Seismic condition, including foundation bolting and cripple walls
Knowing this now lets you build the right fixes into your budget instead of discovering them mid-demolition. If water has ever been an issue in the home, our water damage restoration case study shows how quickly a small leak can turn into a major project.
Step 3: Set a Realistic Budget (and a Cushion)
A new mortgage can make it easy to forget that renovation costs are a separate line item. Decide how much you can comfortably spend before you fall in love with a design.
Two habits protect you here. First, keep a contingency fund of roughly 10 to 15 percent of the project cost for surprises, which are common in older homes. Second, decide early how you will pay. Cash, a home equity line, a renovation loan, and a cash-out refinance all work differently, and the right choice depends on your rate and timeline. We compare the main options in our guide on how to finance a remodel in the Bay Area.
Step 4: Separate Must-Haves From Nice-to-Haves
Sort your list into three groups:
- Safety and function: electrical, plumbing, roofing, anything that affects whether the house works properly
- Daily-life upgrades: a kitchen layout that fits how you cook, a bathroom that is not cramped, better storage
- Personality and polish: finishes, paint colors, lighting, built-ins, and decor
Fund the first group first, plan the second carefully, and spread the third over time. This is also how you avoid overbuilding. If you are curious which upgrades tend to hold their value locally, see our breakdown of East Bay remodeling ROI.
Step 5: Understand Permits Before You Plan
Permits are easy to ignore until they delay your project. Many cities in the East Bay require permits for structural changes, electrical and plumbing work, and additions, and rules vary between Oakland, Berkeley, Walnut Creek, and other cities. Our guide to Bay Area remodeling permits explains what to expect.
It is far better to design with permit requirements in mind than to redesign after a rejection. A good contractor handles this for you, but you should still know what is being filed on your property.
Step 6: Put Projects in the Right Order
Order matters more than most owners expect. A sensible sequence looks like this:
- Structural, seismic, and foundation work
- Roofing, windows, and exterior envelope
- Electrical, plumbing, and HVAC
- Insulation and drywall
- Kitchens and bathrooms
- Flooring, paint, and finishes
Doing cosmetic work first is the most common mistake. If you refinish floors and then open a wall for new wiring, you pay for the same room twice. If your budget or timeline means you will move in before the work is done, finish the dusty, structural work first and read our tips on remodeling while you live there.
Step 7: Hire the Right Contractor
The contractor you choose affects cost, schedule, and stress more than any single material decision. Verify that anyone you consider has an active license through the California Contractors State License Board, ask for recent local references, and get a written scope of work with a clear payment schedule.
Come prepared with questions. Our list of questions to ask your contractor before signing is a good place to start.
Make It Yours Without Overspending
A remodel after buying a house does not have to be one big project. Many owners do best by starting with the room that affects daily life the most, usually the kitchen or primary bathroom, and then adding projects as the budget allows. Smaller changes can also make an outsized difference: new lighting, updated hardware, fresh paint, and better storage can transform a space for a fraction of the cost of a full renovation.
The goal is not to change everything. It is to make the home work for the way you live, in an order that protects your investment.
Ready to Plan Your First Project?
If you recently bought a home in the East Bay and want help deciding where to begin, Lions Gate Remodeling can walk through the house with you, flag the priorities, and give you a clear plan and budget. Contact us to schedule a consultation.